
DIY Bag Charm for Kids: How to Make a Backpack Charm

Why Make a Bag Charm?
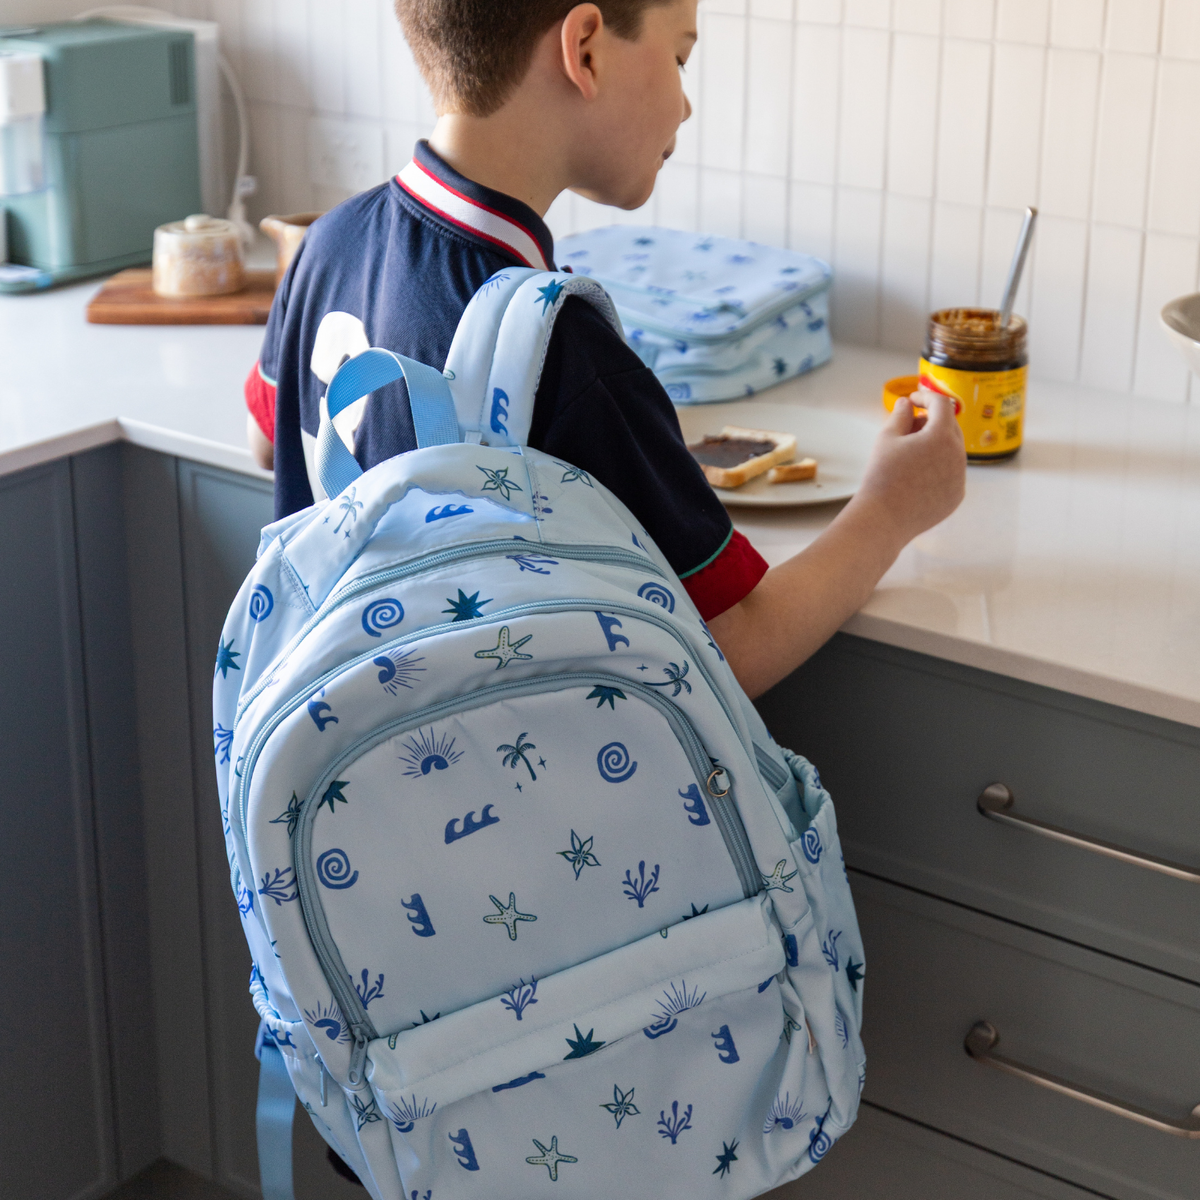
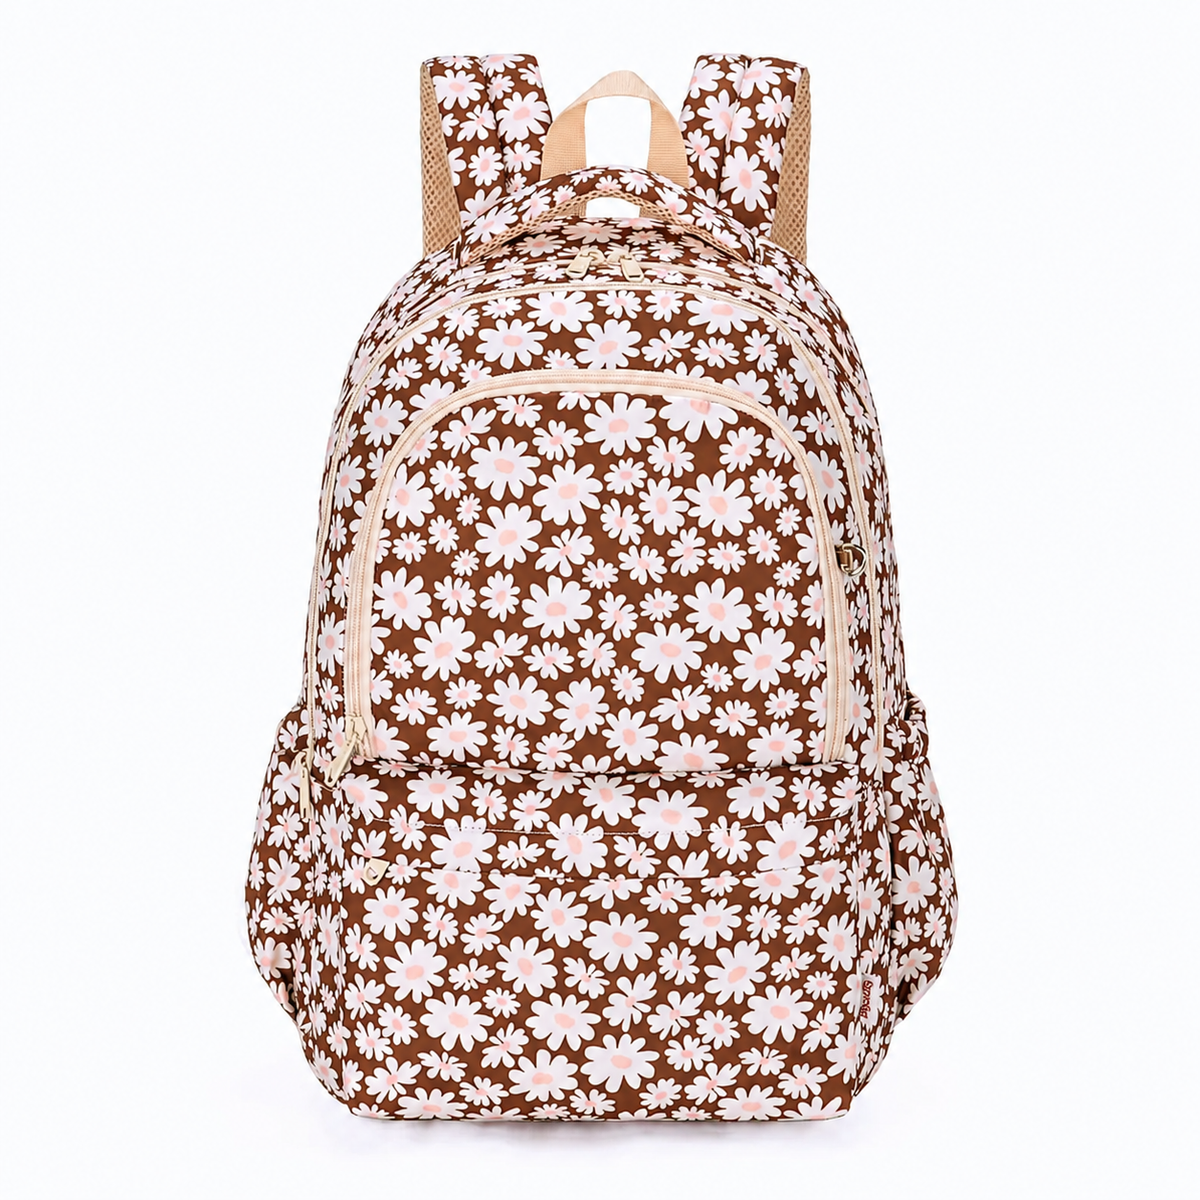
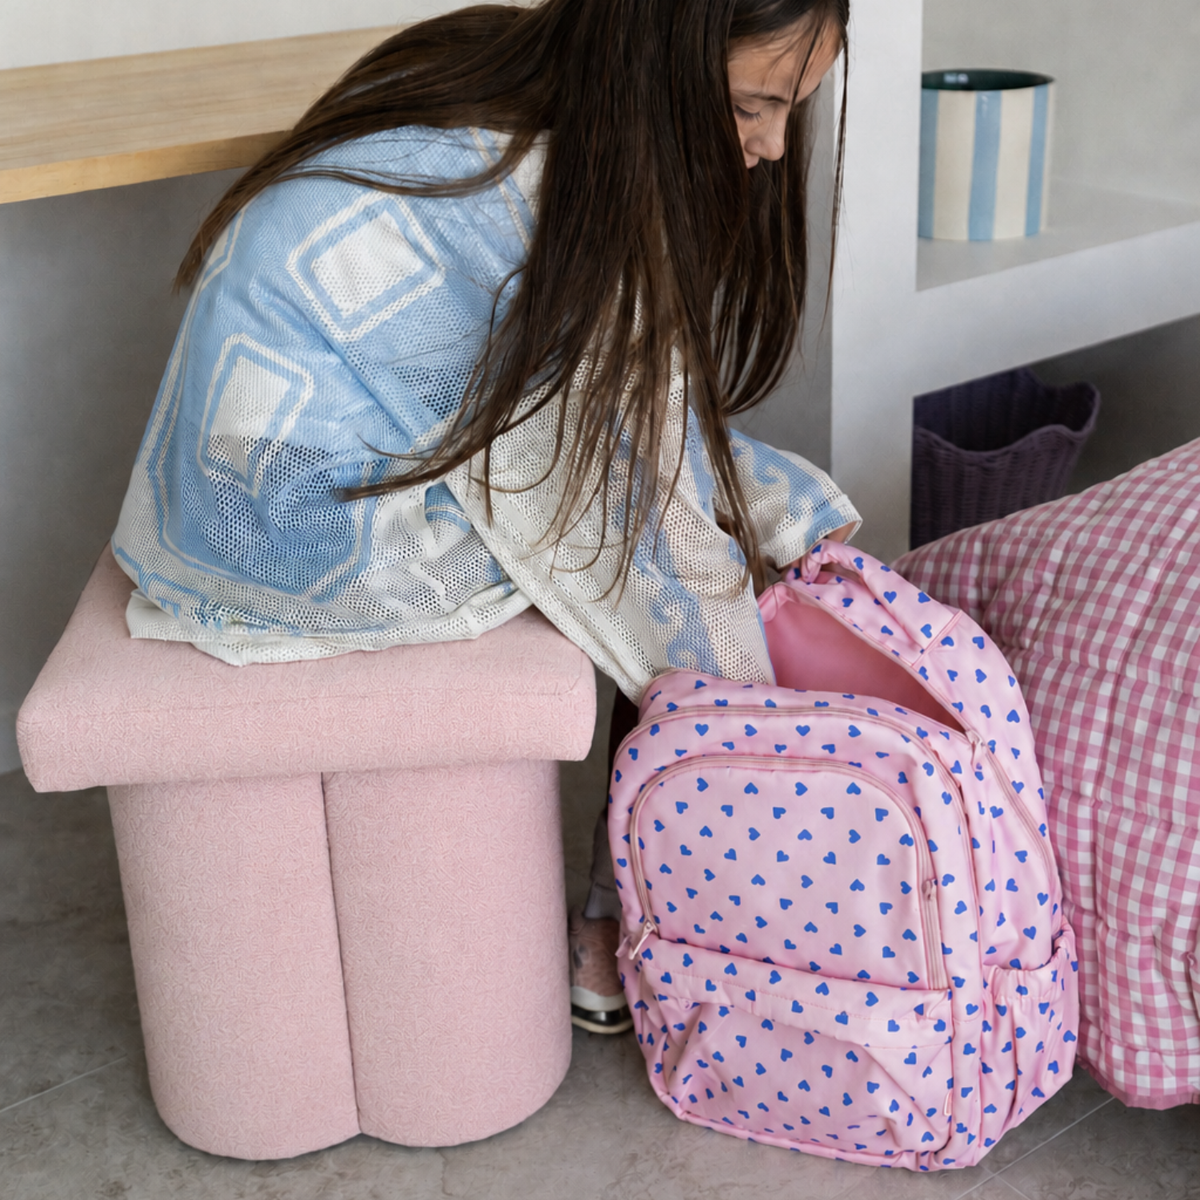
Kids lose track of their own bag all the time, especially when there's a row of identical ones lined up outside the classroom. A cute bag charm dangling off the zipper means they (and you) can spot it in two seconds flat, and it's a rainy afternoon activity that only takes a few minutes to make. Here's how to make your own DIY bag charm.
What You'll Need
- A carabiner clip (the bigger clasp style, easier for little hands to click on and off than a fiddly lobster clasp)
- Pony/Barrel beads (usually 6x9 mm, with wider centre hole)
- Nylon cord or Paracord (long enough to double over and wrap)
- Alphabet beads or colourful beads, and/or small charms
- Scissors and lighter
Letter beads, charms and cord are easy to find at any craft store, and kids can usually help thread.
Step-by-Step: How to Make a DIY Backpack Charm
- Embellish the carabiner: Thread the pony beads on your carabiner.
- Prepare the cord: Cut a 45 cm piece of nylon cord or paracord and fold it in half.
- Attach to the carabiner: Loop the folded centre of the paracord through your carabiner to create a secure lark's head attachment.
- Tie the knots: Create a snake knot by taking one strand over the centre cords and bringing the second strand around the back and through the loop, then pull tight. Here's a visual tutorial.
- Repeat: Alternate strands to build a tight, rounded braided pattern down the length of the cord.
- Finish the ends: Trim any excess nylon cord and quickly sear the tips with a lighter to stop fraying.
- Thread on your letter beads to spell out a name, with a plain bead either side to finish it off. Let your kid choose the colours, this is the fun part for them.
- Knot the cord ends together securely below the last bead, then trim any excess.
Tip: if you're making a few at once for siblings or classmates, lay all your beads out in little piles first. It saves a lot of “wait, which one was I using?” halfway through.
Common Mistakes To Avoid
Cutting the cord too short: Give yourself more length than you think you'll need. You can always trim the ends, but you can't add more back on once you've started knotting.
Skipping the lighter step: Nylon cord frays and unravels fast if the ends aren't sealed. A quick, careful sear is worth it.
Cramming too many letters on: A long name with a plain bead either side can get bulky. Smaller round beads next to the letters keep it manageable on a zip.
Using a lobster clasp instead of a carabiner: They're fiddly for small hands, and kids will end up asking you to click it on every time. The bigger clasp style is worth the extra minute to find.

Tips for a Charm That Lasts
- Skip anything with small, loose beads for kids under 3
- Seal knots with a dab of clear nail polish or glue so they don't work loose
- Twist-locking or screw-lock metal carabiners and round spring-ring buckles are the best and most secure choices for holding bag charms
The Bottom Line
A DIY bag charm is a genuinely easy win: cheap, quick, and it solves a real problem at pickup time. Whether you go with letters, a favourite colour combo or a couple of small charms, it turns into one of those cute school bag accessories your kid actually wants to use, which is half the battle with anything “for school.”
Got a tip that works for you? We'd love to hear it. And if an afternoon of knotting isn't on the cards this week, our personalised backpacks already do the job of making theirs easy to spot, no beads required.


